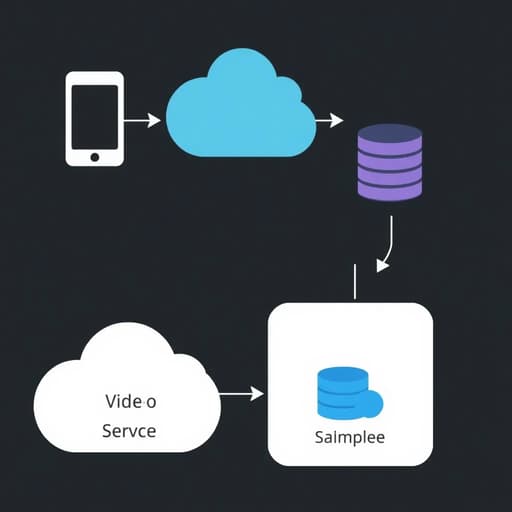
Clone Master
This Ai allows you to completely clone an website or application. This example is a complete clone of TikTok

Cloning TikTok involves replicating its user interface, functionality, and backend logic. Here's an outline of the steps you'd need to take, along with some suggested technologies:
- Planning:
- Identify key features: Video upload, discovery, following, likes, comments, sharing, etc.
- Sketch a basic layout: Home feed, profile page, video page, etc.
- Frontend:
- Choose a mobile-first framework like React Native or Flutter.
- Design the user interface using components and state management (e.g., Redux, MobX).
- Implement routing and navigation between screens.
- Backend:
- Set up a server using Node.js (Express.js) or a backend-as-a-service like Firebase.
- Design the database schema to store user data, videos, likes, comments, etc.
- Implement API endpoints for user authentication, video upload/download, interaction (likes, comments), and discovery.
- Video Processing:
- Use a service like Cloudinary or AWS S3 for video upload and storage.
- Transcode and optimize videos for different devices and connections.
- Discovery:
- Implement a basic algorithm to recommend videos based on user interactions and preferences.
- Consider using a library like Elasticsearch for real-time search.
- Real-time Updates:
- Use WebSockets or a service like Pusher or Ably for real-time updates (e.g., new likes or comments).
- Testing:
- Test your app thoroughly on various devices and network conditions.
- Deployment:
- Deploy your backend (e.g., AWS, Google Cloud, Heroku).
- Submit your app to the App Store or Google Play Store.
Here's a high-level overview of the project structure:
- tiktok-clone/
  - client/
    - public/
    - src/
      - components/
      - screens/
      - services/
      - App.js
      - index.js
    - package.json
  - server/
    - controllers/
    - middleware/
    - models/
    - routes/
    - index.js
    - package.json
  - package.json
- tiktok-clone/
- client/
- public/
- src/
- components/
- screens/
- services/
- App.js
- index.js
- package.json
- server/
- controllers/
- middleware/
- models/
- routes/
- index.js
- package.json
- package.json
- client/
I can provide more detailed code snippets or explain specific parts of the process in more detail if you'd like. Let me know how I can help!
To give you a more concrete idea, let's dive into the implementation of one key feature: video upload.
Video Upload
- Frontend:
First, create a form component where users can select a video file to upload.
import React, { useState } from 'react';
import { View, Button, Text, TextInput } from 'react-native';

const VideoUploadForm = () => {
  const [video, setVideo] = useState(null);

  const handleVideoSelect = (selectedVideo) => {
    setVideo(selectedVideo);
  };

  const handleUpload = async () => {
    // Send the selected video to the server
    const formData = new FormData();
    formData.append('video', video);

    try {
      const response = await fetch('/api/videos', {
        method: 'POST',
        body: formData,
      });

      // Handle the response
      console.log('Video uploaded successfully');
    } catch (error) {
      console.error('Error uploading video:', error);
    }
  };

  return (
    <View>
      <Button title="Select Video" onPress={() => handleVideoSelect('selected_video')} />
      <Button title="Upload Video" onPress={handleUpload} disabled={!video} />
    </View>
  );
};

export default VideoUploadForm;
- Backend:
On the server-side, create an API endpoint to handle video uploads.
const express = require('express');
const multer = require('multer');
const upload = multer({ storage: multer.memoryStorage() });

const router = express.Router();

router.post('/videos', upload.single('video'), async (req, res) => {
  try {
    // Save the video to your storage service (e.g., Cloudinary or S3)
    // Generate a unique identifier for the video
    const videoId = generateUniqueId();
    const videoUrl = await uploadVideoToCloudinary(req.file);

    // Save video metadata to the database
    await Video.create({
      id: videoId,
      userId: req.user.id,
      url: videoUrl,
      // other fields like title, description, etc.
    });

    res.status(201).json({ message: 'Video uploaded successfully' });
  } catch (error) {
    console.error(error);
    res.status(500).json({ error: 'An error occurred while uploading the video' });
  }
});

module.exports = router;
Here's what the code does:
multer.memoryStorage()stores uploaded files in memory as buffers.upload.single('video')is a middleware function that handles single file uploads with the field name 'video'.generateUniqueId()generates a unique identifier for each video.uploadVideoToCloudinary(req.file)is a function that uploads the video to Cloudinary and returns the URL.
- Testing:
Test the video upload functionality by selecting a video file and clicking the "Upload Video" button. Check if the video is uploaded successfully and appears in the user's profile or the home feed.
You can follow similar steps to implement other features like video discovery, following users, liking and commenting on videos, etc.